Overview
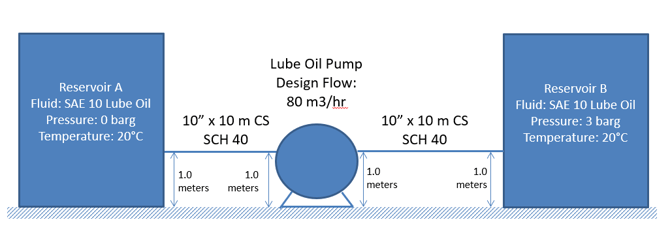
This guide will help you create your first model in FluidFlow for a simple system shown below:
We've broken the process into 5 clear steps that you can follow along with to build your own model.
Step 1 – Launch FluidFlow & Create a New Project
- Open FluidFlow from your desktop or start menu
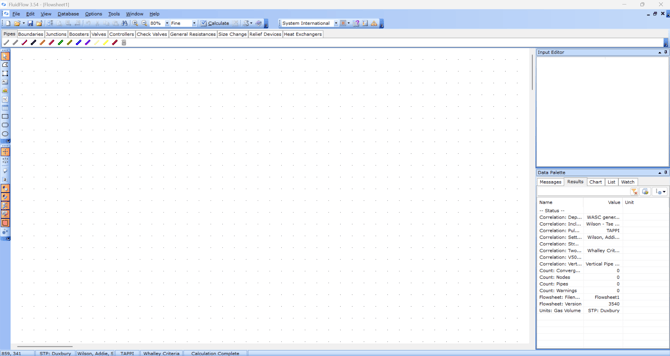
- A blank flowsheet automatically appears when you launch the application
- You can also create a new file through the File menu or by pressing CTRL+N
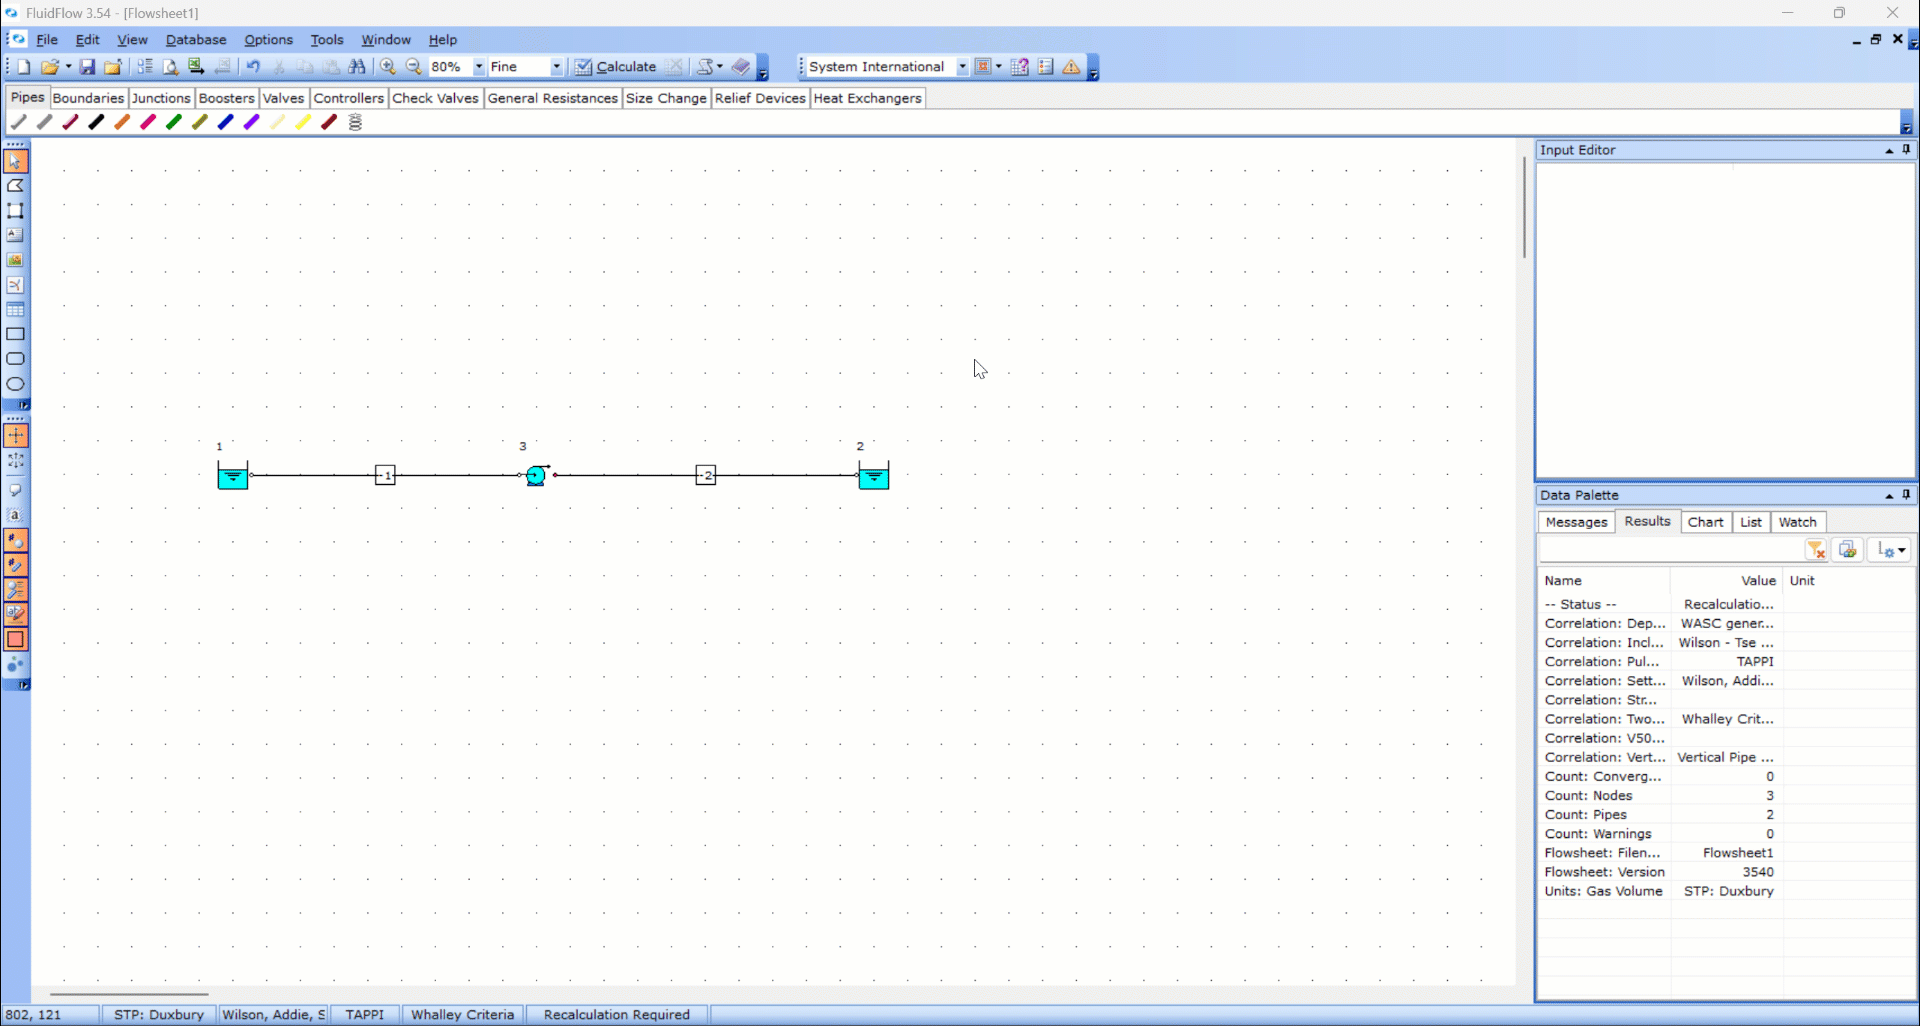
Step 2 – Model Boundary Conditions
-
Use the Component Palette to select boundary nodes that represent the system's inlet and outlet conditions
-
Define boundary conditions through the Input Editor
Note: When using Known Pressure or Known Flow nodes as outlet boundaries, the fluid and temperature are automatically inherited from the source—no need to update these parameters.
IMPORTANT: Avoid using Known Flow nodes for both inlet and outlet boundaries to prevent convergence error.
Step 3 – Model the System
- Select key equipment (e.g., pump, valve, heat exchanger) from the Component Palette
- Position these components to match the physical arrangement of your system
- Connect key equipment with the appropriate pipe material from the Component Palette
- Define equipment and pipe data through the Input Editor

💡 Pro Tip: Save time by holding the Shift key and selecting multiple similar components simultaneously. This allows you to make identical changes across all selected items at once in the Input Editor.
Step 4 – Run the Calculation
- Click the Calculate button on the toolbar or press CTRL+F8 to perform the calculation
Step 5 – Inspect Results
- Verify that directional flow arrows in the flowsheet match your intended flow direction
- Use the Data Palette to:
- Review messages tab for convergence issues, data warnings, and engineering hints
- Examine component calculation results
- Analyze component charts
- Alternatively, display flowsheet tables to view calculation results

💡 Pro Tip: Create composite charts to gain deeper insights into your calculation results. For more details, see Energy & Hydraulic Grade Lines (EGL/HGL).
Next Steps
After completing your first model:
- Save your project for future reference
- Explore advanced tutorials for pumps, heat exchangers, and control valves
- Review our User Interface Overview to become more familiar with available tools