If you have created a model and wish to swap the pipe material in the model, follow the steps below:
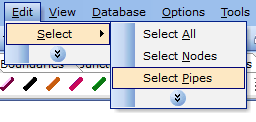
1. Select: Edit | Select | Select Pipes (see image below).

Once you have completed this step, all pipes will be highlighted on the Flowsheet.
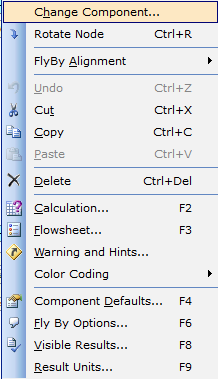
2. Right mouse-click on any of the highlighted pipes on the Flowsheet and a dialogue will appear where you can select "Change Component" (see image below).

3. The "Change Component" form (see below) shows the alternative pipe materials you can choose from. It is however important to note at this stage that, if you are changing to a different pipe material, each material has a different data-set, i.e. different diameters, roughness etc and as such, if you change material, the diameter etc will be set to the default values for that given pipe material. You will therefore need to check each pipe and ensure it is set to the required diameter etc.
Please ensure you have the check-mark in the box titled "Keep all common property values" at the bottom of this form (see below). This means the software will copy across any data that is common between pipes such as length.
When you have chosen your new material from the list, select OK.
